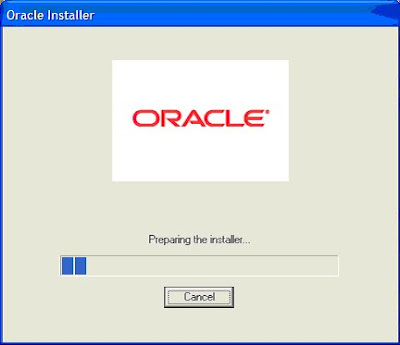
Following window will open

It will start the oracle Insaller for the jdeveloper

Choose to create a new middleware home and provide the location

Say next

Say next

Say next and continue selecting the default option
Check the installation summary

Say next

SAy next and done

Now click to start jdeveloper jdeveloper.exe

It will come up with the following screen
SAy ok

Now dont close the jdeveloper you have started the jdeveloper for the first time it will try to integrate with the weblogic domain.so let it get completed till you get following messages in the message.log of the jdeveloper.

So now every thing is set up correctly now we will upgrade our jdeveloper with junit extension.If it required if you want to run junit application.
YOu can download the extension from otn.
Download the extension JUnit Integration.
Now got to jdev and click on help ->Check for updates

Following window will come up

SAy next and choose install from local directory

ONce say next it will take some time and will come up with following screen.

Say finish and you will be prompted to restart the jdeveloper.
REstrat the jdeveloper.
Now your jdeveloper is ready.We will now start the server and try to create some simple process
No comments:
Post a Comment