One admin server,SOA server and Bam server.
From 11g onwards the whole thing has changed.
There is one weblogic admin server and SOA and Bam are two managed server.
b2b and bam are now too easy to configure.
We now don't have a bpel /esb console.
We have only em console.
From jdeveloper also the design has changed.
Now we don't have a separate bpel/esb process it is all within a single composite.
YOu can drag and drop an esb service,bpel service,bam serive,b2b and so more it is just too gud.
So without wasting any time we will start with the begining.
The very first step is to install database for the dehydration store.
The database we will be installing for this purpose is 11.1.0.7.0
Please ensure the requirement for the installation of 11g database
YOu should be having 1 gb ram atleast and 3 gb of physical memory for this to work successfully.
I will just attach the screen shot and that should be enough for you to guide how to install it.
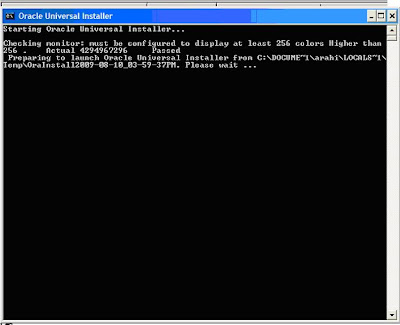
start the setup.exe

Go for advanced installation

Go for enterprise edition

Select the install location.

Provide your metalink user id and password

Let the software check for the prerequisite

Select configuration option or let everything be set to default

Select database configuration option

Provide the database name and the SID

Let the next page set to default values and say next

say next for the next page also

Specify the storeage option

Specify backup and recovery option

Specify the schema password.
I have specified same password for all the schema

finally say install

Then all the screens will come automatically and you don't have to configure any thing just have to say next or whatever it will ask.
i will just paste the scrrenshot that you will come across.


finally successfull installation say exit.

Go to command window.
SEt oracle home
Set SID and check if your database is up and running.
No comments:
Post a Comment