
Now drag and drop a db adapter in that and give it some logical name

I already have created a user arpit and a table customer in database which i will use here

Connect to the database

Do a poll record as per your requirement and say next import the table.


Select a primary key

So it should look something like this

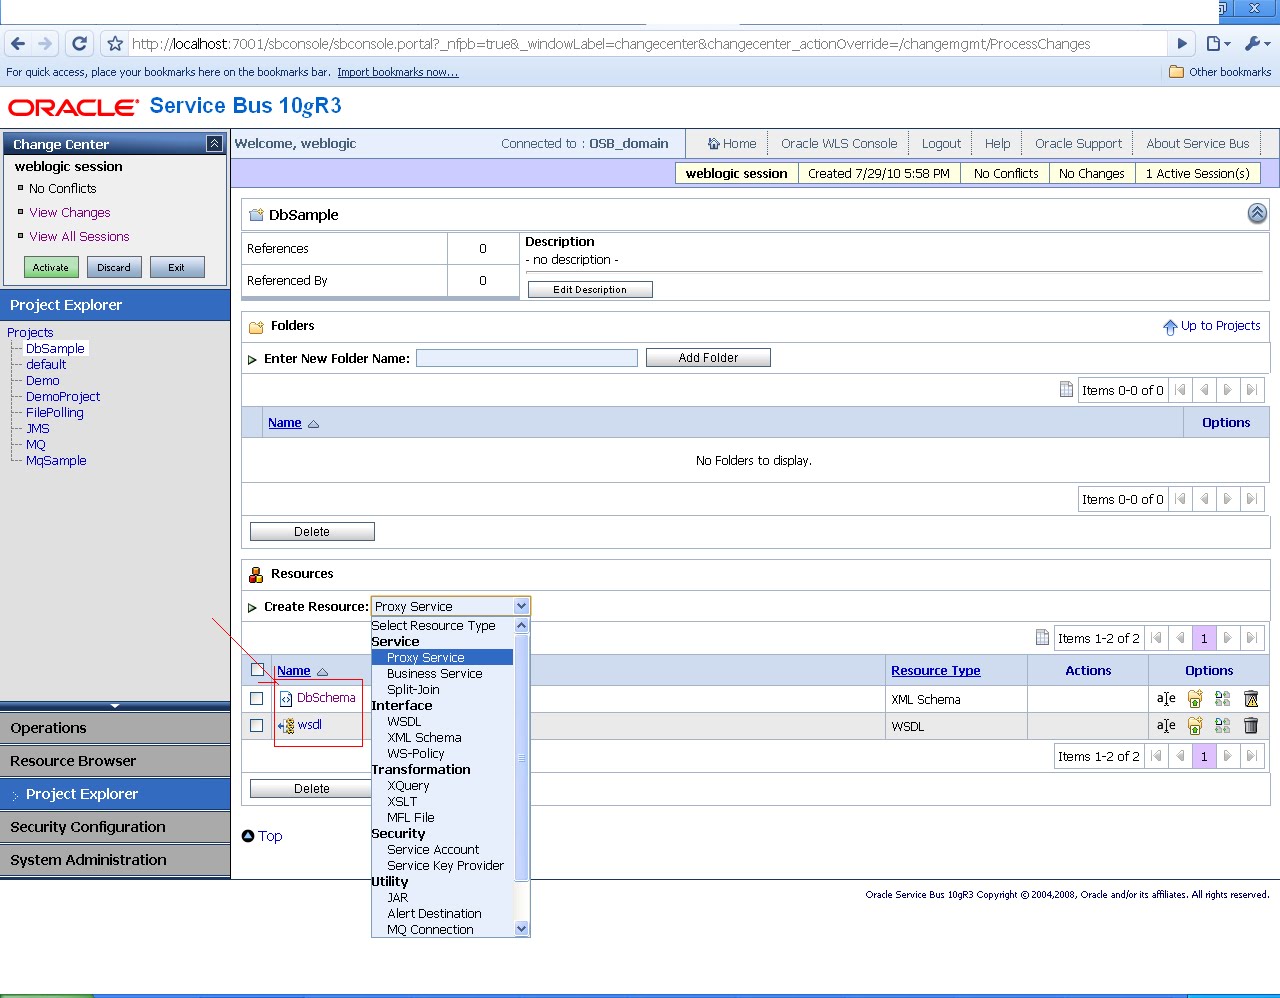
Now log in to osb console
http://host:port/sbconsole and create a new project

Now go to your project and create a schema file

Choose the xsd file that is created for the database adapter conection

A schema file will be created as shown in diagram circle.Now create a wsdl interface

Again choose the wsdl file from the same folder location

No create a proxy service
choose the wsdl you have created earlier

choose port and say submit

Say next and verify the jndi name

Say next and again browse the toplink file from same folder location

keep on saying next and finally save the changes.
Now to make sense to this project i will add a business service which will write the data to an output file.
Create a new business service

Give it some logical name

provide the directory where u need to store the output

Add the service and keep on saying next till you find the save.Save the configuration and activate it.
NOw create a business action.Edit the message flow for the proxy service

Now add a routing service to it

Edit the route service by clicking on it and then saying edit
Now on create an action page add a routing action

Now click on service and choose the business service which you have created to write data to output directory.

now save the changes and then activate it and your business process is complete.Now to verify its use case,Insert a data in the table and see you have the file generated in the output directory.I assume that you already have create the db resource from the weblogic console of OSB.If not here are the steps.
Log in to the console
http:host:port/console
and goto deployment->DbAdapter.
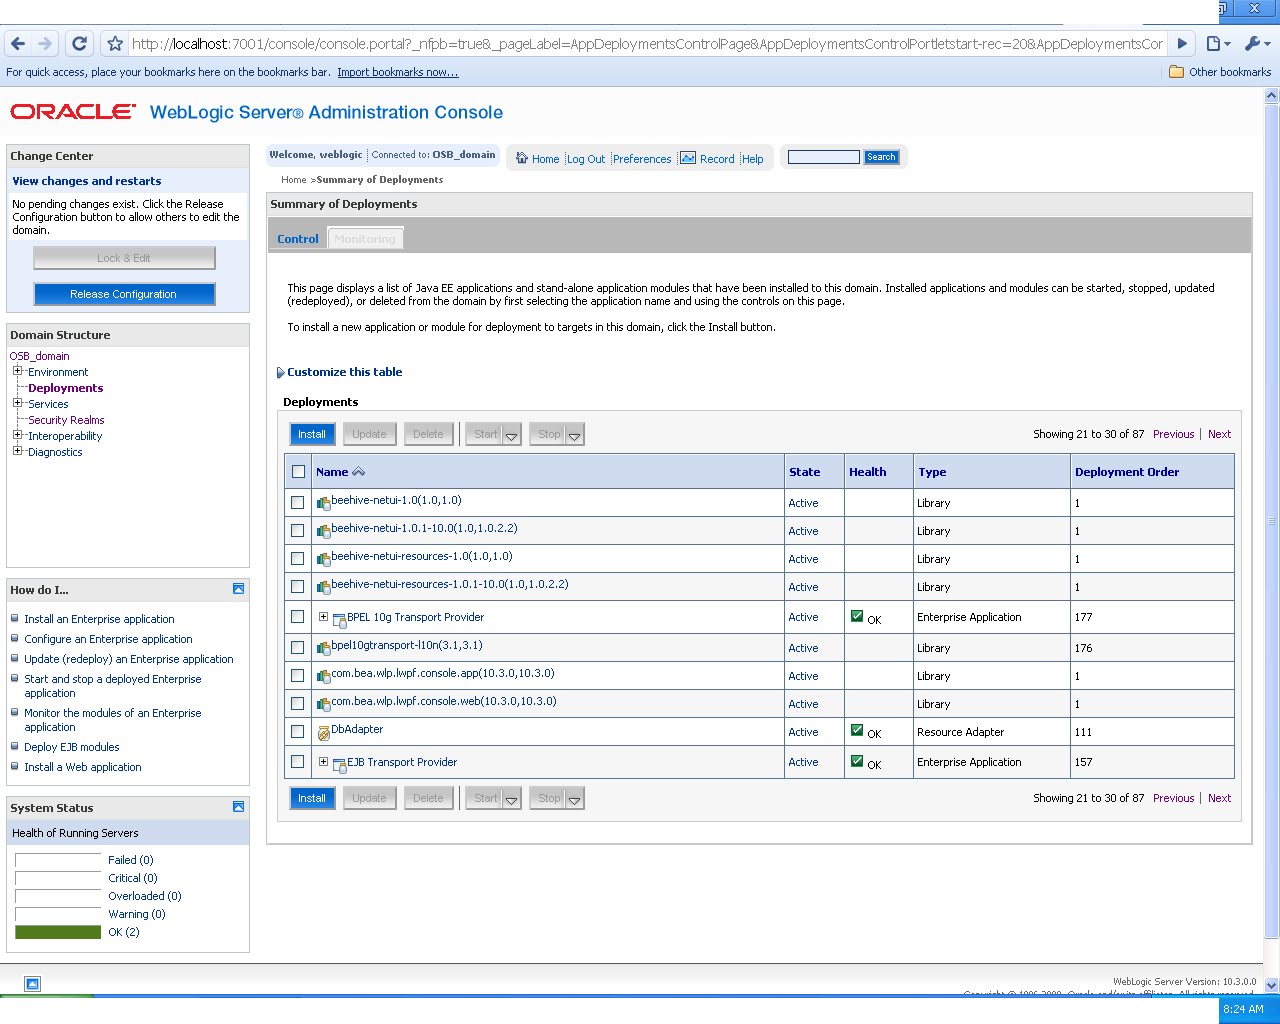
Create a new connection

Create a connection for the jndi which you are using in your case

Save the changes and redeploy the db adapter using update option and you are not ready to go with the test case.
I believe then you must not configured your data sources too so here are the steps.
Log in to admin console http://host:port/console
Go to Services-->JDBC--->Datasources
and create a new data source

Provide the details for database and test the connection


Now a more configuration is required that is update the data source in your connection factory.
go to deployment
choose db adapter
Go to configuration tab
Outbound Connection Pool
and choose the connection you have created and update the xa datasource name over there

Now once done update the properties again.This should work now.
1 comment:
Thank you so much for your efforts man!
consider me a constant visitor for your lessons. :)
Post a Comment