A Schema for the output format. A business Service to write file to a directory and a proxy service which will accept input from the user.So if the idea is clear we will go ahead and create a new OSB project.
Open your Jdeveloper and create a new Service Bus Application

Let the default application name be there

Now within the application Create a new service bus project

Let the default project name be there and finish the project

Now once project is created, right click on the project and create a new Schema document
<?xml version="1.0" encoding="UTF-8"?>
<schema attributeFormDefault="unqualified"
elementFormDefault="qualified"
targetNamespace="http://xmlns.oracle.com/testing/ArpitSchema"
xmlns="http://www.w3.org/2001/XMLSchema">
<element name="process">
<complexType>
<sequence>
<element name="input" type="string"/>
</sequence>
</complexType>
</element>
<element name="processResponse">
<complexType>
<sequence>
<element name="result" type="string"/>
</sequence>
</complexType>
</element>
</schema>
Now Drag and drop a File technology adapter in the External Service Swimlane


Let the default jndi be there

Select write operation

Select path and file name

Select the process type in the schema

Complete and finish the wizard

Now once project is finished you will find following artifacts in the project.
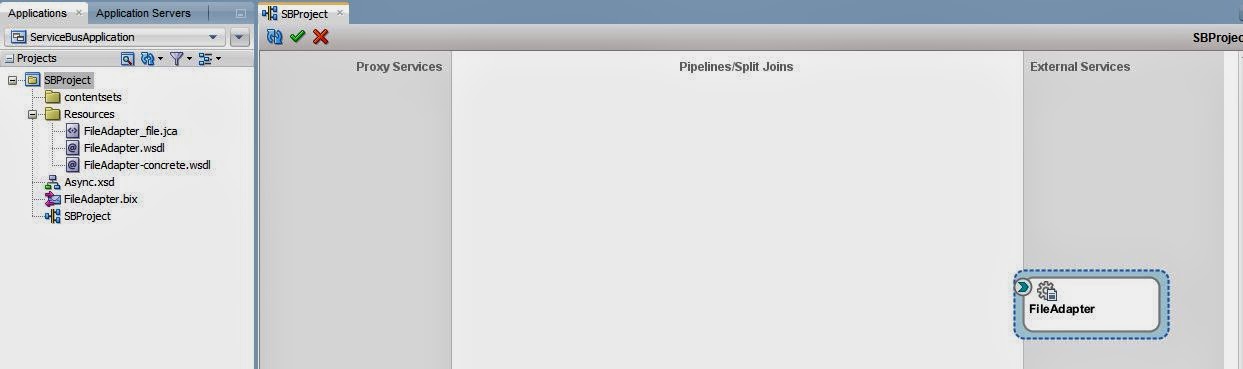
YOu can see a .bix file which is nothing but the business service. Just right click on the Business service and say run.
This will give you an option to test the Business service that you have created just now.
HTTP analyzer will open up in JDveloper itself and you will be able to test it.

Test and validate whether the file is create at back end or not.
Now we will further enhance this project and add a proxy service to it.
Drag and drop a pipeline activity in the pipeline swimmlane

Create a messaging service and select the input and output from the schema

Finish the project and link your osb project with the file adapter.

NOw double click on the proxy service and drop a publish activity in the request pipeline

Publish activity is used to call a service in one way.
After putting the publish activity point it to the business service you have created earlier and save the changes.

Since the body and the file adapter input is based on same schema there is no mapping required just click on the proxy service and say run.

Validate the output

Now if you wanted to test your same service from em console just log in to em console
http://host:port/em
Click on your project and then go to operations tab as shown
Once you reach in the operations tab click on your proxy service

Click on the test tab

And test it from the console

1 comment:
Nice Tutorial, Thanks
Post a Comment