This is a very common requirement but i couldn't get detailed document on the same. We will try to see how we can create a tree structure in ADF.
We will be using the default hr schema for this purpose and will take few table to create a tree structure.
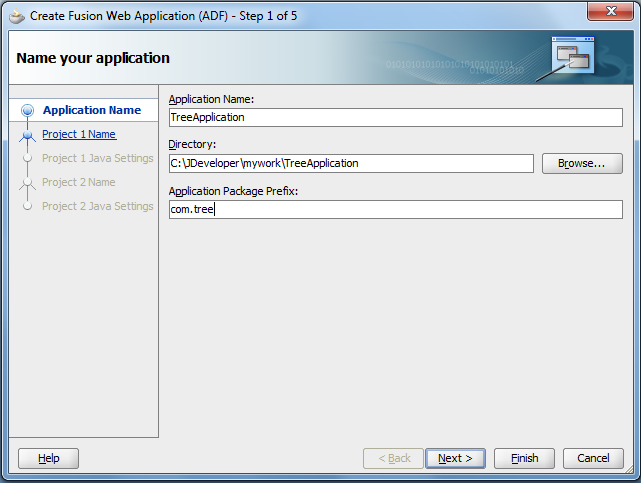
Create a new ADF web application

Specify application name and package prefix
Create model and ViewController with the default options


Complete the wizard and create a model for your process.
Right click on the model and create a new Business component from tables.

Connect to hr schema

And select table from the list
Since we already know the hierarchy we will select Location-->Department-->Employee table.
Each location can have multiple department and each department can have multiple employee. So knowing this we will select these three table.
We can also select other tables as well but to make this process simple i am using only three level of binding.

Create updatable view object for all the table and keep saying next to finish the wizard.


Now go to your app module and go to data model,here you can design the hierarchy you wanted to display .
By default the data model will have following structure.

Select the un necessary component and move it to left side and move the required component to right side so that the exact hierarchy looks like this

Create a JSP page and drag and drop the location object from the data control tab in the jsp page as shown

select the element that you wanted to be displayed for location table
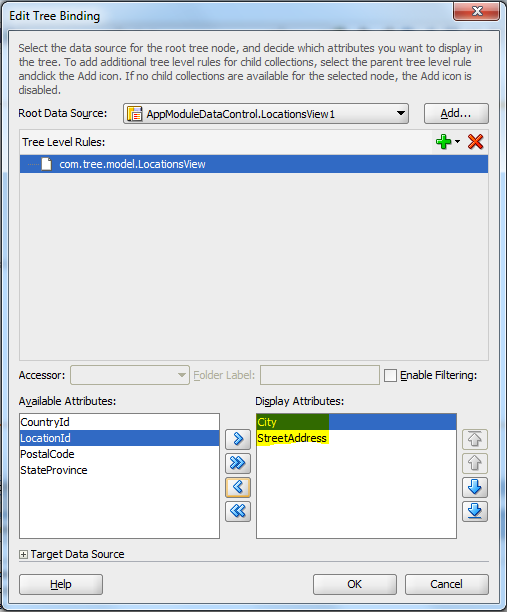
Click on + plus in the tree view to add the department

Select the element that you wanted to be displayed for department

Similarly select the employee view and select the elements that you wanted to display

YOu can also drag and drop other element as form to display the fields(not required)
Now you are done with the process, Go ahead and deploy the process
you will get the following result

YOu can add the data source as form and can also modify them as per your requirement.
In order to do that you need to create the correct binding element so that corresponding element can be displayed.
Go the the binding tab in your jsp page
Go to Add button and add an iterator

Select the department view as it is missing in the list of executables, you can select the view which is missing from the list

Now go to binding select the location view and edit it

Now select the locationView-->Expand data source-->Select EL picker and select LocationViewIterator from the ADF binding

Now you can drag and drop element to display in the adf form corresponding to the selected element in the left hand side
I added location element to be displayed in my code and deployed and i can see the results as shown below

No comments:
Post a Comment